Area of Refuge Testing: What Happens During an Annual Inspection
Your annual Area of Refuge (AOR) system test is scheduled for next week. You’ve notified your tenants, blocked off your calendar, and now you’re wondering… what exactly is about to happen? Will it be disruptive? How long will it take? And most importantly, what are the technicians actually looking for?
For many Southern California property managers, the annual AOR test is a black box. You know it’s required by law, but the process itself is a mystery. This can lead to anxiety, especially when you’re worried about a potential failure that could lead to costly repairs and a failed fire marshal inspection.
This guide will pull back the curtain. We’ll walk you through the entire annual AOR testing process, step-by-step, so you know exactly what to expect. By the end, you’ll understand what technicians are testing, why they’re testing it, and how to ensure your building passes with flying colors.
Why is Annual Testing Required in California?
First, let’s clarify why this test is happening in the first place. It’s not just a recommendation; it’s a legal mandate. The International Fire Code (IFC), which is adopted by California, states in Section 1031.8:
“Two-way communication systems for areas of refuge shall be inspected and tested on a yearly basis to verify that all components are operational.”
This means that every multi-story commercial building in California with an AOR system must have it professionally tested every 12 months. This isn’t about checking a box; it’s about ensuring that the lifeline for your most vulnerable tenants will actually work in an emergency.
The AOR Testing Process: A Step-by-Step Guide
An annual AOR test is a systematic process designed to verify the functionality of every component of your system. Here’s what a Fire Testing Solutions technician will do when they arrive at your property:
Step 1: Pre-Test Coordination & System Review
Before any testing begins, our technician will meet with you or your facility manager to:
- Review System Documentation: We’ll look at past inspection reports, system drawings, and any maintenance records.
- Coordinate with Monitoring Center: If your system is monitored, we’ll place it on “test mode” to prevent a false dispatch of the fire department.
- Plan the Route: We’ll map out the most efficient route to test every remote call station, minimizing disruption to your tenants.
Step 2: Master Control Unit Inspection
The test begins at the heart of your system: the master control unit. This is typically located in the fire command center or building lobby. Here, we will:
- Verify Power Supply: Check both the primary (AC) and secondary (battery) power sources.
- Inspect for Faults: Ensure there are no trouble signals, ground faults, or other system errors displayed on the panel.
- Test Panel Functions: Verify that all buttons, switches, and indicators on the master unit are functional.
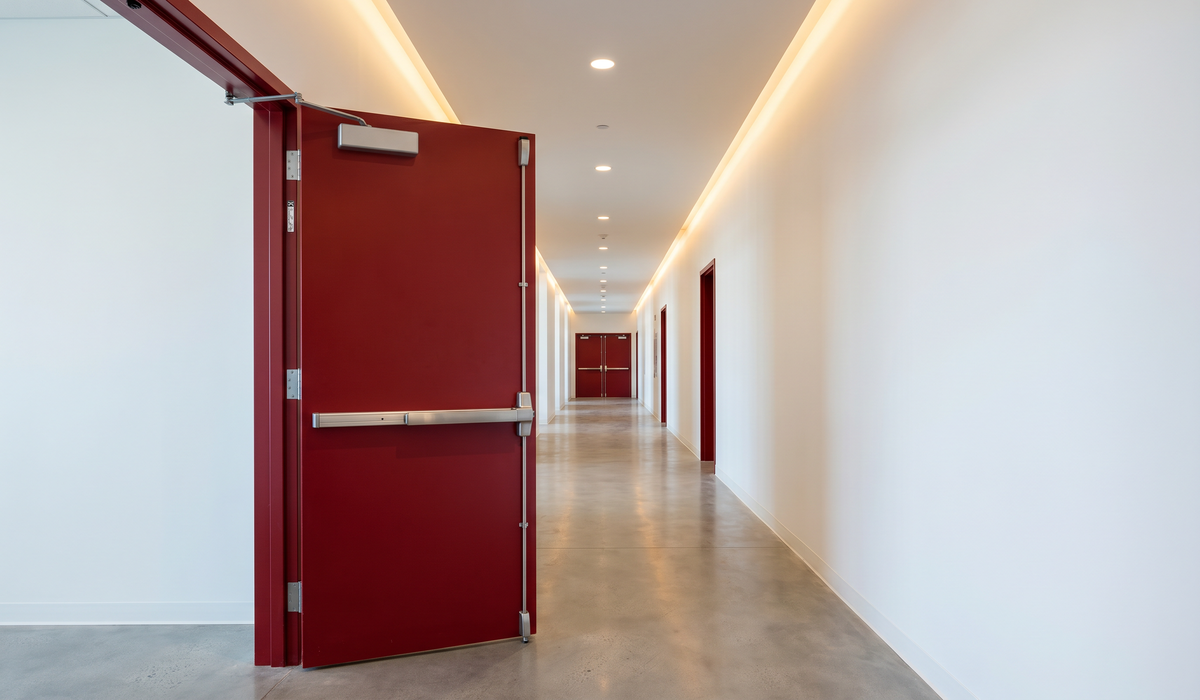
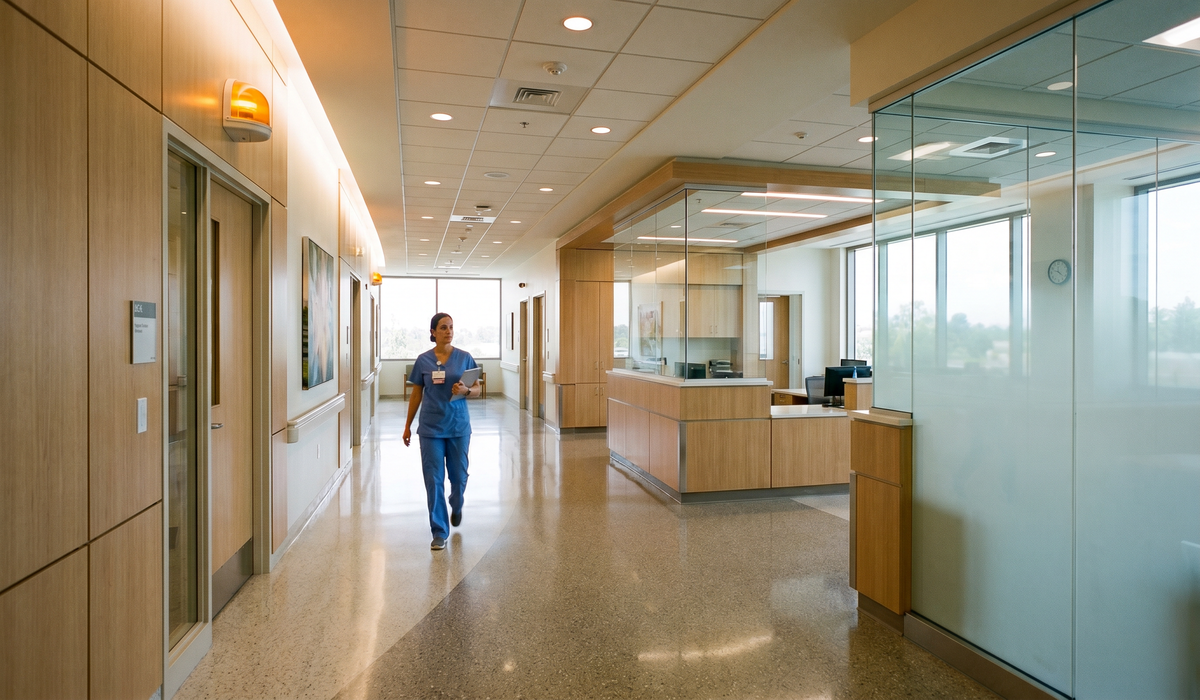
Step 3: Remote Call Station Testing (The Most Important Part)
This is where the real testing happens. Our technicians will visit every single Area of Refuge and elevator landing in your building to test each remote call station. This involves a two-person team communicating via radio.
At each remote station, the technician will:
- Initiate a Call:
Press the “Call” button to connect to the master control unit.
- Verify Two-Way Communication: The technician at the remote station will have a clear, intelligible conversation with the technician at the master unit.
- Check Audible & Visual Signals: We confirm that the LED light on the call station illuminates and that any audible tones sound as required.
- Test Hands-Free Operation: The technician will verify that they can communicate without holding down the button.
- Confirm Location Identification: The master unit must clearly display the exact location of the calling station (e.g., “Floor 7, East Stairwell”).
This process is repeated for every single call station in your building.
| What We Test | Why It Matters |
|---|---|
| Two-Way Communication | Ensures a trapped individual can communicate their location and needs. |
| Audible & Visual Signals | Confirms to the caller that their call has been received. |
| Location Identification | Tells emergency responders exactly where to go, saving critical time. |
| Hands-Free Operation | Allows individuals with limited mobility to communicate easily. |
Step 4: Battery & Power Supply Testing
Your AOR system must remain operational even if the building loses power. To ensure this, we perform a battery load test:
- Disconnect AC Power: We temporarily disconnect the main power to the system.
- Measure Battery Voltage: We measure the battery voltage under load to ensure it can sustain the system for the required duration (typically 24 hours in standby, plus 5 minutes in alarm).
- Restore AC Power: We reconnect the main power and verify that the system returns to normal operation.
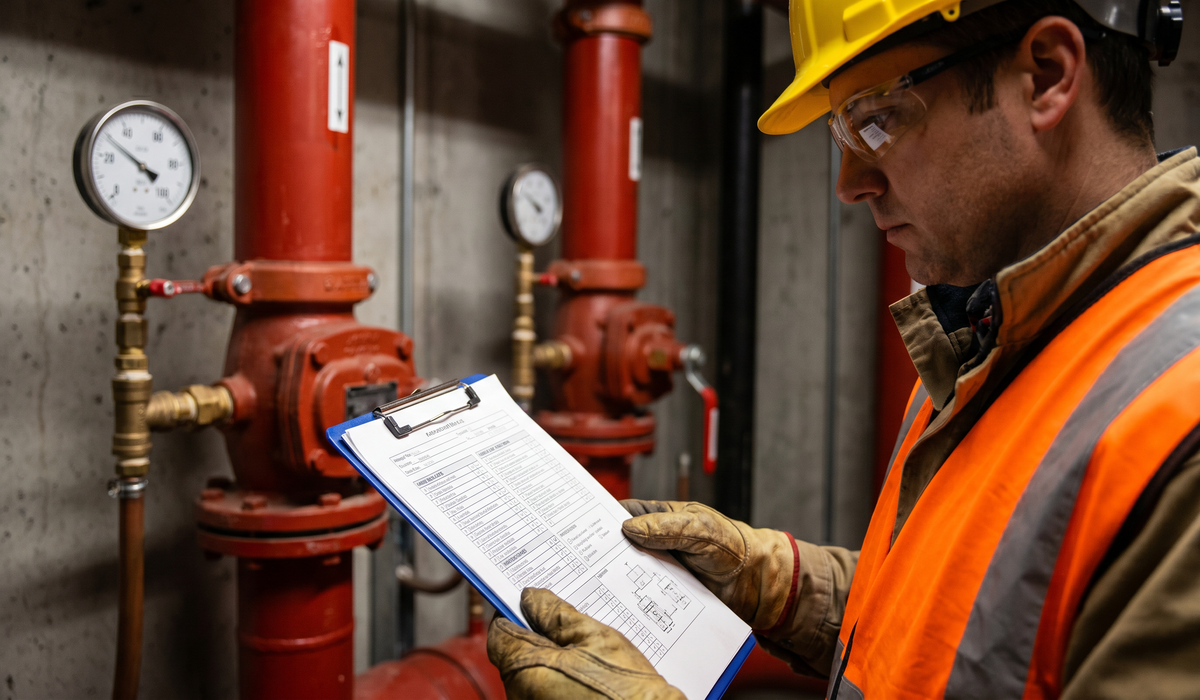
Step 5: Post-Test Review & Documentation
Once all testing is complete, our technician will:
- Take the System Off Test: We’ll coordinate with the monitoring center to restore normal monitoring.
- Review Findings with You: We’ll provide a verbal summary of the test results and discuss any deficiencies found.
- Provide a Detailed Report: Within 24-48 hours, you will receive a comprehensive, audit-ready report detailing every aspect of the test. This is the documentation you will provide to the fire marshal.
Worried about what happens if a deficiency is found? Fire Testing Solutions is a full-service company. We can diagnose and repair any issues on the spot, often during the same visit. Call us at 866-757-8378 to learn more.
How Fire Testing Solutions Streamlines the Process
We understand that your time is valuable. Our goal is to make the annual AOR testing process as seamless and non-disruptive as possible.
- Efficient Scheduling:
We work with you to schedule testing during off-peak hours to minimize tenant disruption.
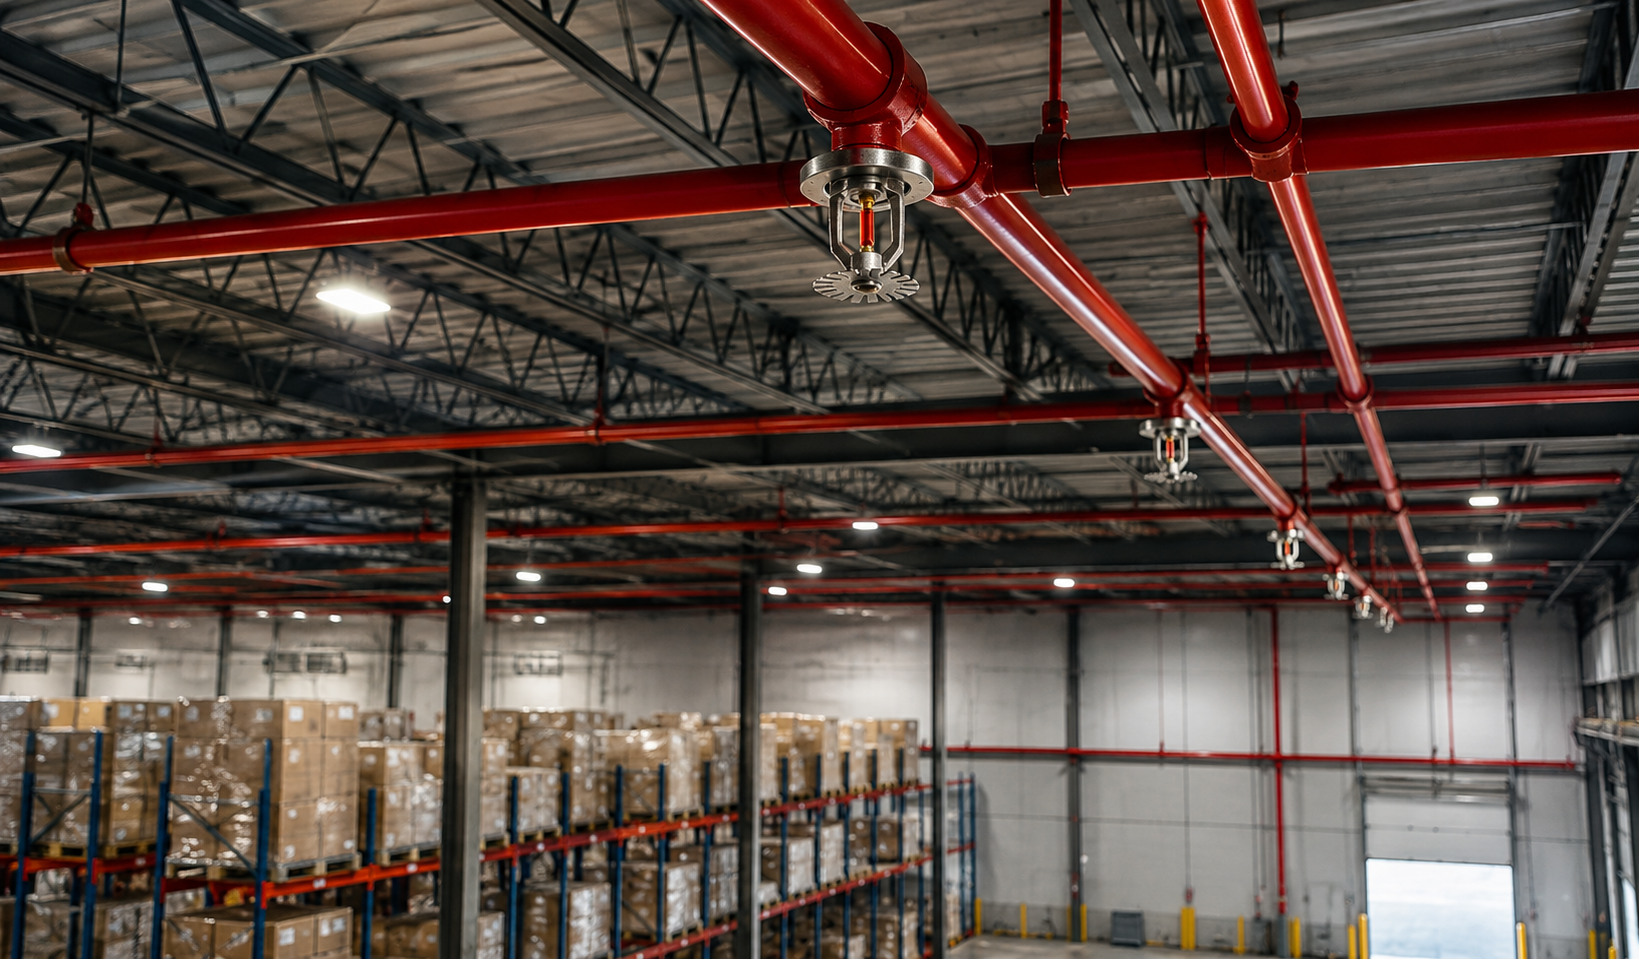
- Integrated Services: We can bundle your AOR testing with your fire alarm, sprinkler, and fire extinguisher inspections, saving you the hassle of coordinating multiple vendors.
- Expert Technicians: Our NICET-certified technicians are experts in California fire code and can answer any questions you have on the spot.
- Clear Communication: We keep you informed throughout the entire process, from pre-test coordination to post-test reporting.
Frequently Asked Questions
1. How long does an annual AOR test take? For a typical mid-rise office building, you can expect the test to take 2-4 hours. High-rise buildings with many call stations may take longer.
2. What are the most common reasons for a failed test? The most common failures we see are dead batteries, faulty handsets, and communication failures due to wiring issues. These are all issues that can be easily identified and repaired during a professional test.
3. What happens if my system fails the test? If we find a deficiency, we will provide you with a detailed explanation of the issue and a quote for the repair. In many cases, we can perform the repair during the same visit to get your system back into compliance immediately.
4. Can I get a copy of the report for my records? Absolutely. You will receive a comprehensive, digital report that you can keep for your records and provide to your fire marshal or insurance provider.
Your Partner in Compliance
The annual Area of Refuge test is more than just a requirement; it’s a critical check on a system designed to save lives. By understanding what happens during the inspection, you can be better prepared and more confident in your building’s safety.
At Fire Testing Solutions, we are more than just a testing company; we are your partners in compliance. We handle the complexities of fire safety so you can focus on what you do best—managing your property.
Ready to schedule your annual AOR test or have questions about your system? Contact us today for a free consultation.
- Book a call:
https://www.firetestingsolutions.com/contact
- Phone Number: 866-757-8378
- Email: service@firetestingsolutions.com
- Address: 700 W. First St, Suite 10, Tustin, CA 92780